Managing Members

Overview
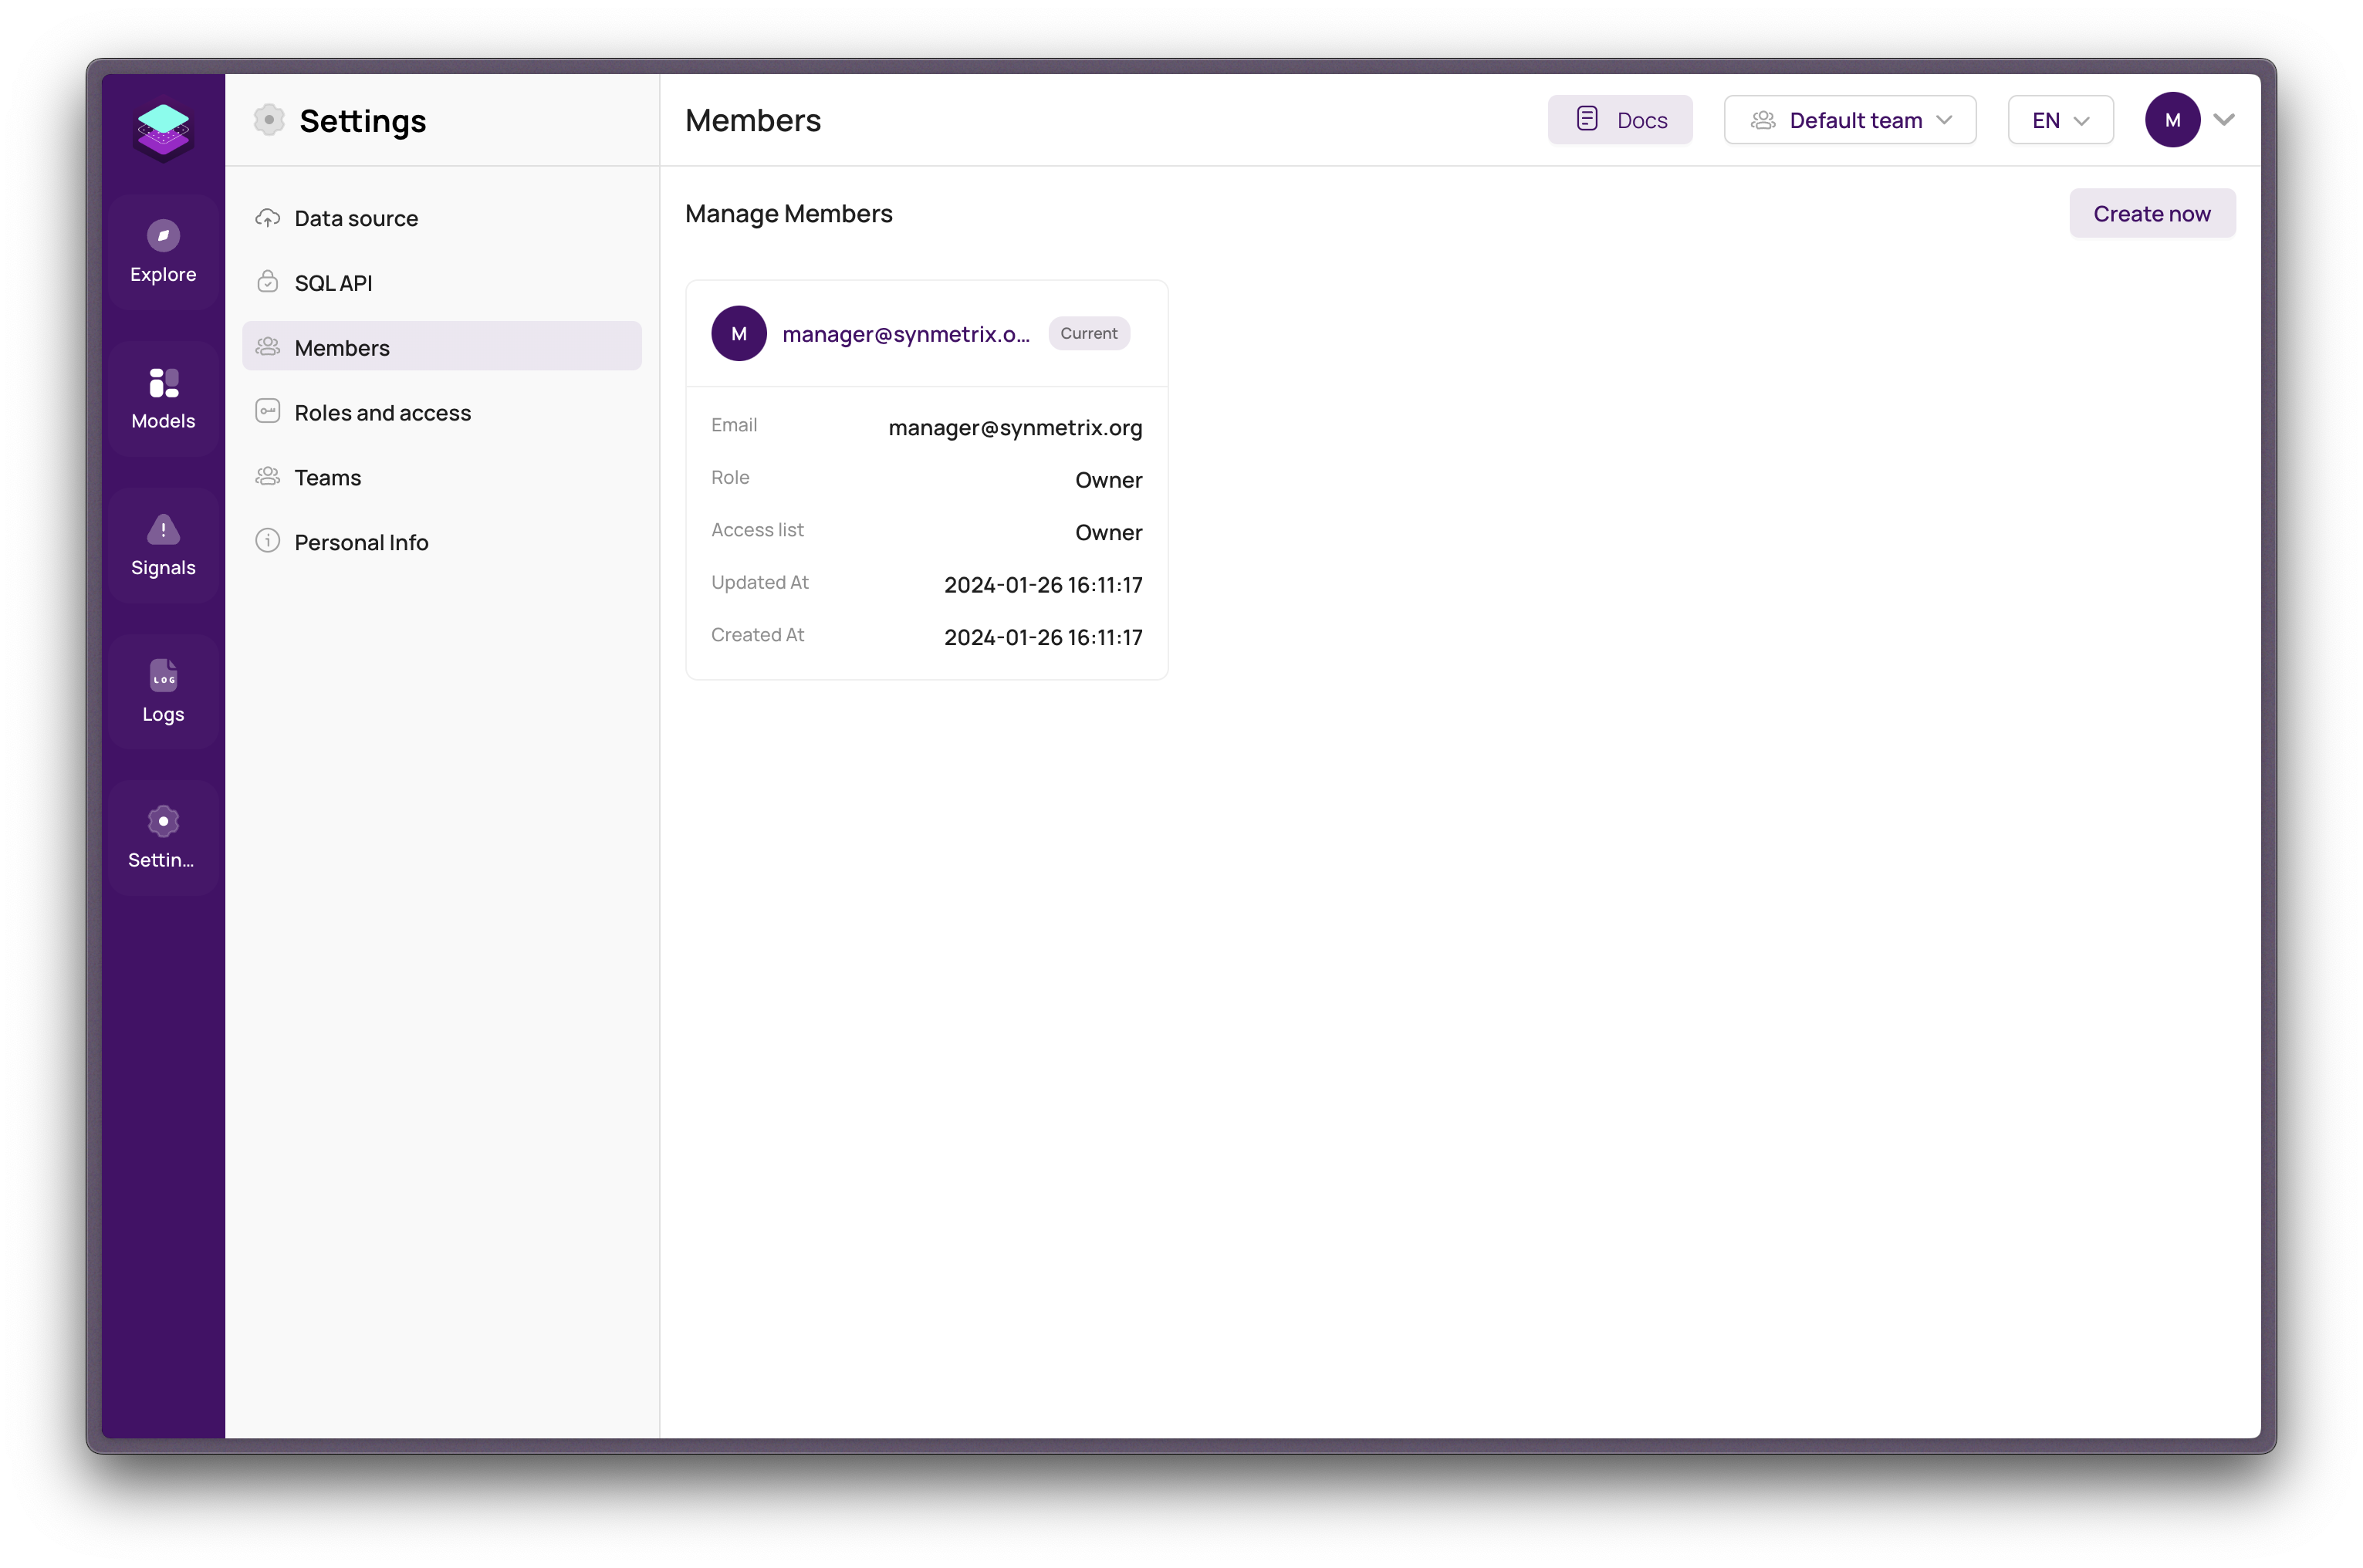
The Members section in your settings allows you to manage the team members who have access to your workspace. This guide provides step-by-step instructions on how to add new members, as well as how to remove existing members.
Member Types
There are three types of members you can add to your account:
- Owner: The primary account holder with full access and privileges.
- Admin: Users with administrative rights, including the ability to manage settings and members.
- Member: Regular users with access to the account but limited control over settings and member management.
Adding a New Member

To add a new member to your account, follow these steps:
- Navigate to Settings > Members in your account.
- Click the Create Now button.
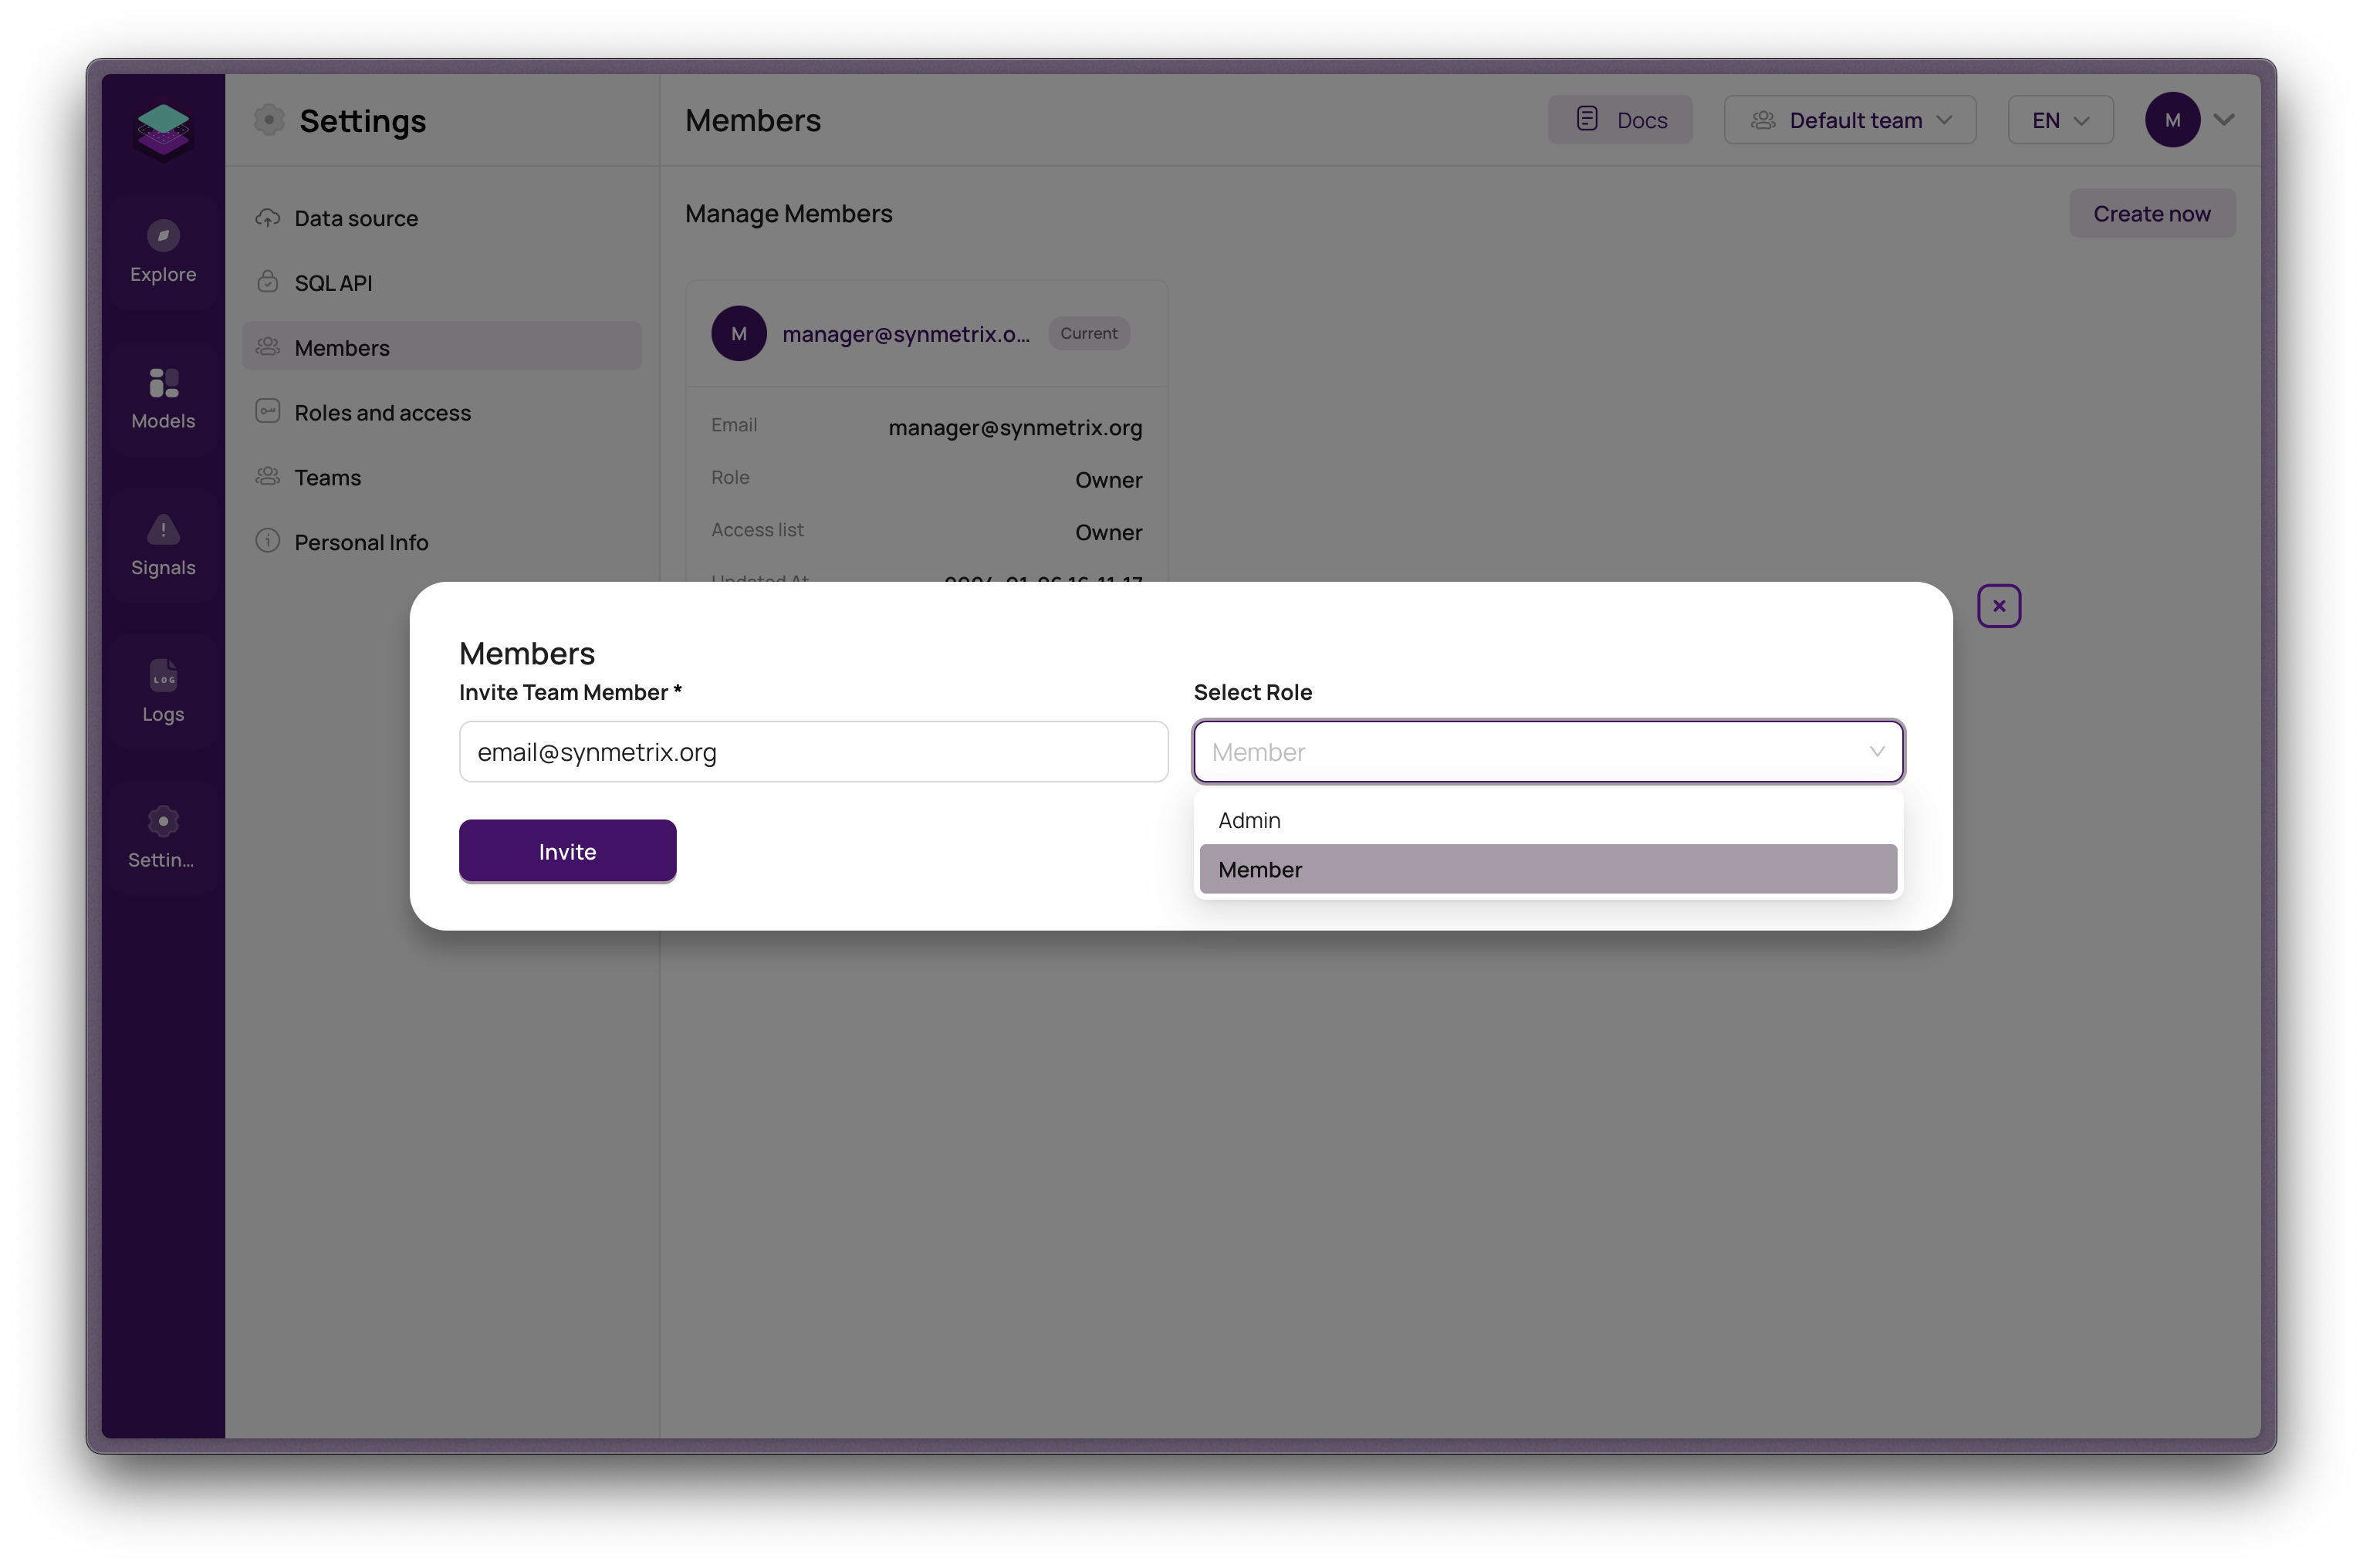
- In the popup window, enter the email address of the new member.
- Select the user type for the new member (either Member or Admin).
- Click the Invite button.
- The new member will receive an email with a magic link to sign in to their account.
Removing a Member
To remove a member from your account, follow these steps:
- Go to Settings > Members.
- Locate the member you wish to remove and find the gear icon on their member card.
- Click on Delete.
- Confirm the deletion. After confirming, the member will be removed from your account.
- The process is complete.
This documentation provides a clear and concise guide for managing members within your account settings.